
Upload images and files
After the Quick start, use files, the clipboard, URLs, or a queue. Check the provider and configuration name at the top of Upload before choosing an input.
Local files: the everyday entry point
- Open Upload and confirm the destination.
- Choose Markdown, HTML, or URL under Output Format.
- Drop files into the dashed area, or click it to choose one or several.
- Wait for the result notification, then check the filename, preview, and link in Gallery.
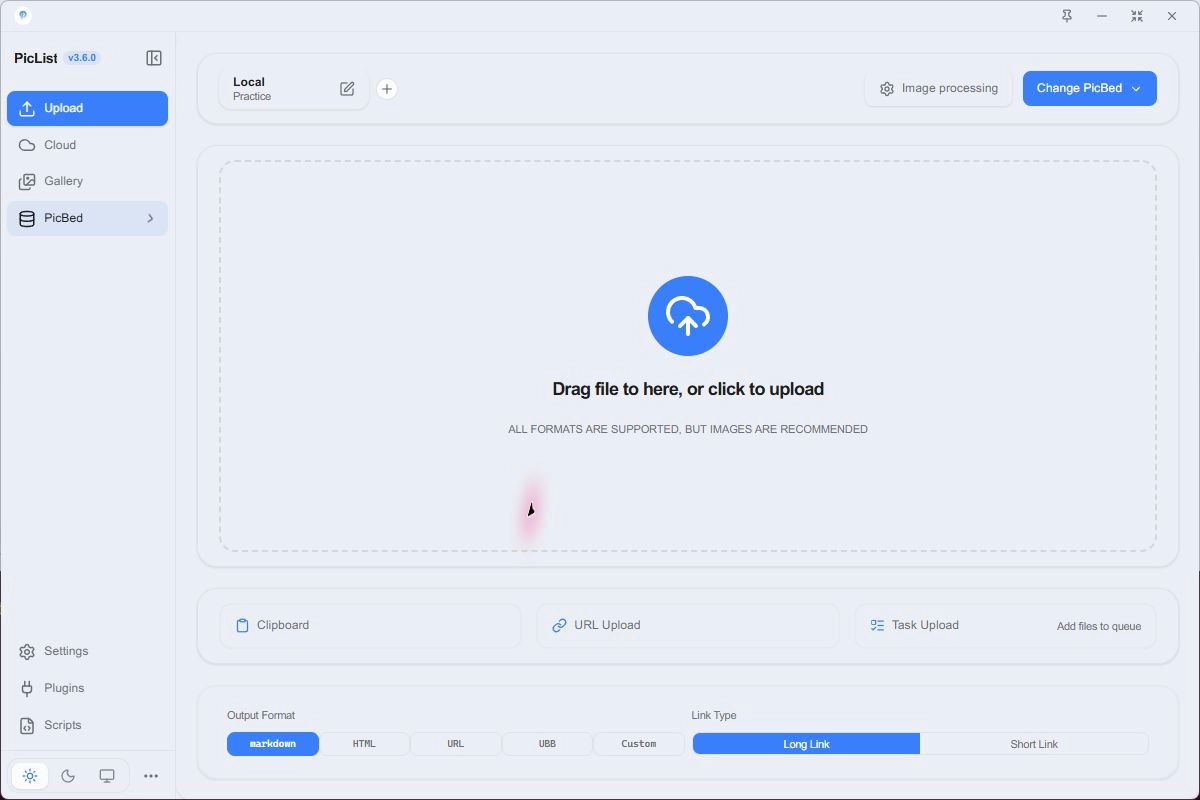
Non-image files can also be uploaded, subject to the provider's size and type limits. Preview support depends on the type. Test one file before a batch; use Upload tasks for intervals and recovery controls.
Clipboard: screenshots and copied images
- Take a screenshot and copy it, or copy an image from an image application.
- Return to PicList and click Clipboard.
- Paste the resulting link. If automatic copying is disabled, use Copy in Gallery.
Configure shortcuts by action under Settings → System settings. Choose another combination if an application already uses it. Clipboard support differs on Linux, remote desktops, and headless servers. Saving a PNG and uploading it as a file makes diagnosis easier.
Absolute path text and file:// URLs in the clipboard are supported, for example:
D:\Pictures\photo.png
file:///D:/Pictures/photo.png
Copied web text, HTML, or a page address may not contain an uploadable image. Save a PNG and try the drop zone to distinguish clipboard problems from provider failures.
Clipboard monitoring automatically uploads new images. Enable it after understanding that temporary screenshots can also reach your online destination.
URL upload: import an existing image
- Click URL Upload.
- Enter one direct HTTP(S) image URL per line.
- Check the current destination on Upload, then submit.
- Find the new URL in Gallery; your destination generates it.
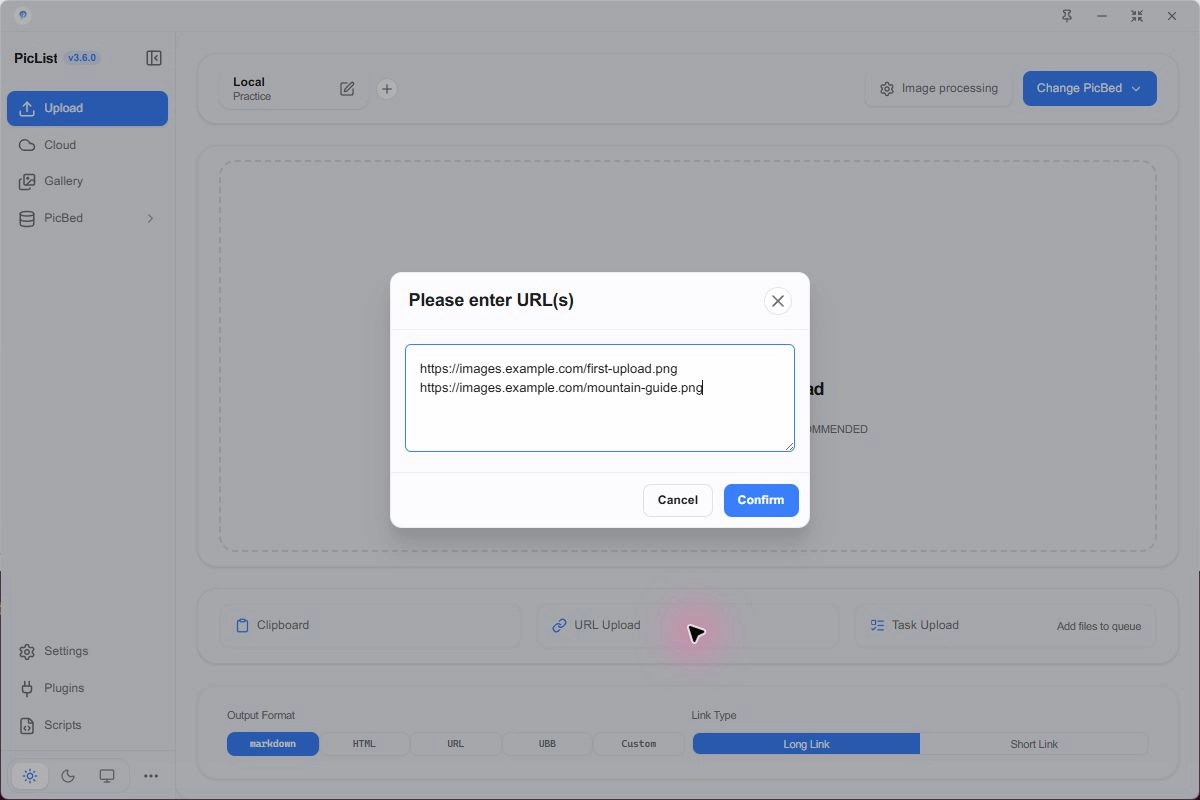
https://example.com/images/photo.png
https://example.com/images/diagram.jpg
PicList downloads a file and uploads it; it does not capture a screenshot of a webpage. Login pages, share pages, hotlink restrictions, and expired signatures can prevent downloads. Check that the URL actually returns image content.
Choose what gets copied
For a public address https://images.example.com/photo.png:
| Format | What you paste |
|---|---|
| URL | Direct address |
| Markdown | Markdown image syntax |
| HTML | HTML image tag |
| UBB | Forum image syntax |
| Custom | Your configured template |
<img src="https://images.example.com/photo.png">[img]https://images.example.com/photo.png[/img]Choose URL to test access, then Markdown or HTML for your editor. Local paths, localhost cache addresses, and temporary signed links have different access conditions; see Preview and published URLs.
Check automatic copying under Settings → Upload settings. Disabling it does not prevent uploading; it leaves the clipboard alone. Recover links from Gallery. Upload, Gallery, and Cloud can have separate copy format settings.
Short links need a configured service. Use Long Link for the first test to simplify diagnosis.
Quick switching, Mini, and tray
Favorite up to six configurations and click their shortcuts at the top of Upload. The Mini window accepts small drag-and-drop uploads; open it with the window's Mini button. Tray or menu bar actions provide other upload entry points. Background behavior after closing the main window depends on System settings.
Check the target after switching. Queued uploads use the default configuration at execution time; check it before starting or resuming.
Secondary destination: save another copy
Test both destinations independently first:
- Enable the secondary uploader under Settings → Upload settings.
- Choose an existing configuration in the secondary destination selector.
- Select a processing mode and test one image.
- Check actual files and results in both destinations.
| Mode | Content source | Useful when |
|---|---|---|
| Shared processing | Reuse the primary's processed content | Both copies should match |
| Separate processing | Process the original input with secondary settings | Different dimensions or watermarks are needed |
Primary success does not prove secondary success. An identical configuration can be skipped; inspect secondary errors separately. Node.js callers can use uploadReturnCtx for secondary results.
This does not copy all earlier uploads or back up the gallery database. See Backup and sync for records and settings.
Uploaded remotely, but saving the result failed
PicList distinguishes remote delivery from local result saving. Use the original task or notification's recovery action when delivery finished but saving failed. Recovery completes the gallery record and other finalization steps. Dropping the file again creates a new upload.
See Queue recovery or the desktop API's finalizationId.